Linen Covered Inspiration Board

BullitinBoard

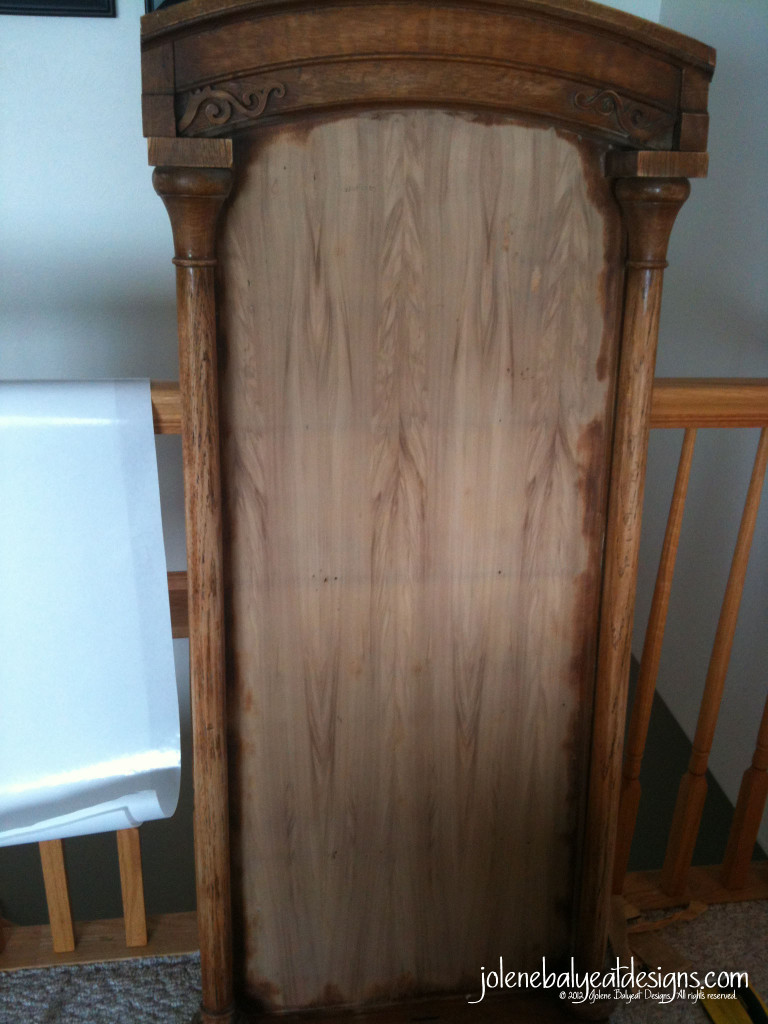
This piece began as a forgotten antique in the garage of an old friend. When her husband donated it to a church garage sale, my friend Joanne recognized it, and bought it for my birthday. She was curious what it could become. Six distinct possibilities immediately vied for expression, and all of them required the piece to be sanded down and painted black. It was in pretty rough shape. The ideas were:
1. Spice Rack (see former post)
2. Inspiration (Bulletin) Board
3. Chalkboard (for a bistro, or kitchen menu)
4. Trompe l’oeil frame for a painting (I’d have to learn to paint first)
5. Mirror
6. Nesting frame covered with sheets of moss upon which one could hang three smaller pictures.
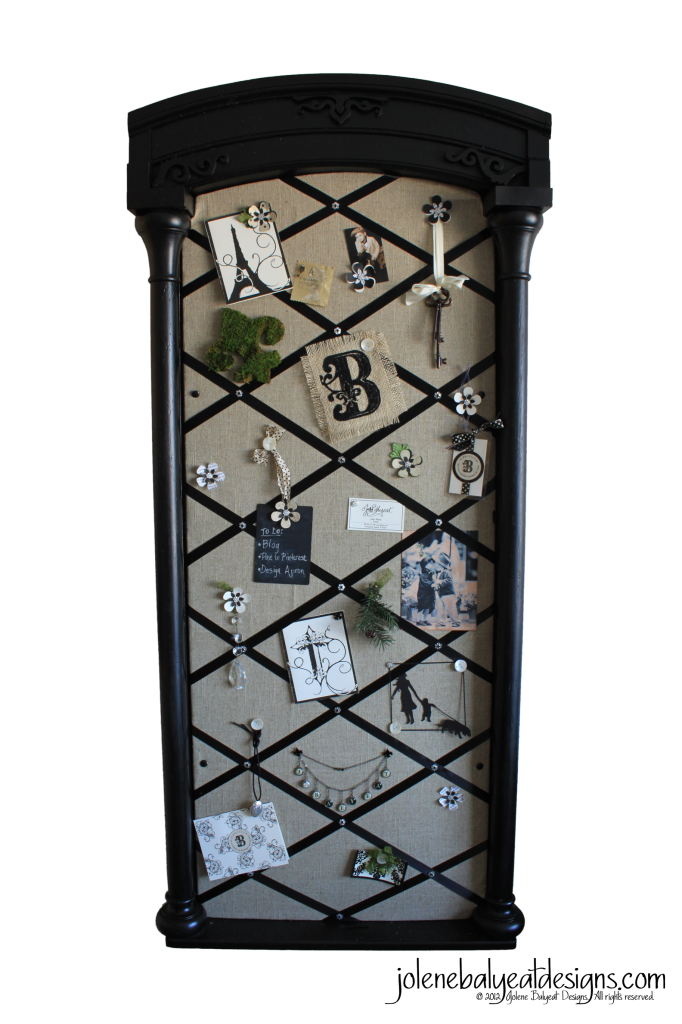
I decided on the Inspiration board because with so many projects in my head it gets difficult keeping track of the ideas, and I often misplace my list. I figure that on truly desperate days, I can use it as an overstated “to-do” list.

BullitenBoardSanded

After searching the Internet for materials, I tried to find something called fiberboard at two local department stores, and the local craft store. Apparently that word doesn’t mean much in the world of Montana home improvement, so I settled on sound board. The home improvement store cut the giant sheet down to my rough dimensions. I made a template of the inside of the frame out of freezer paper, laid it out on the sound board, and cut out the curve with a box cutter.

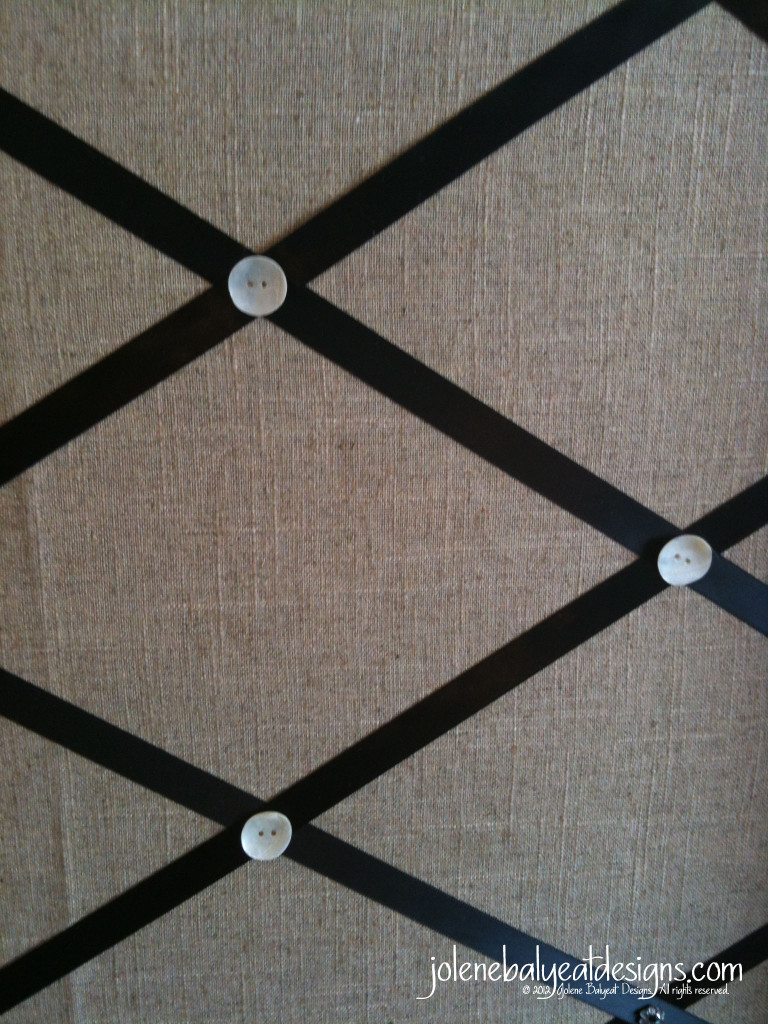
Now for the fabric. I wanted to have the burlap-covered look without the mess, as I designed some Burlap and Velvet Christmas Stockings for this last Christmas. (I’ll post that project later). So I chose linen. Because we moved for the year and I am not near my usual fabric stores, and as I was trying to match some linen that I had on hand for another coordinating project, I had to call out of state to enlist the help of my mother in law in picking up the needed fabric.

ButtonOption

FlowerOption

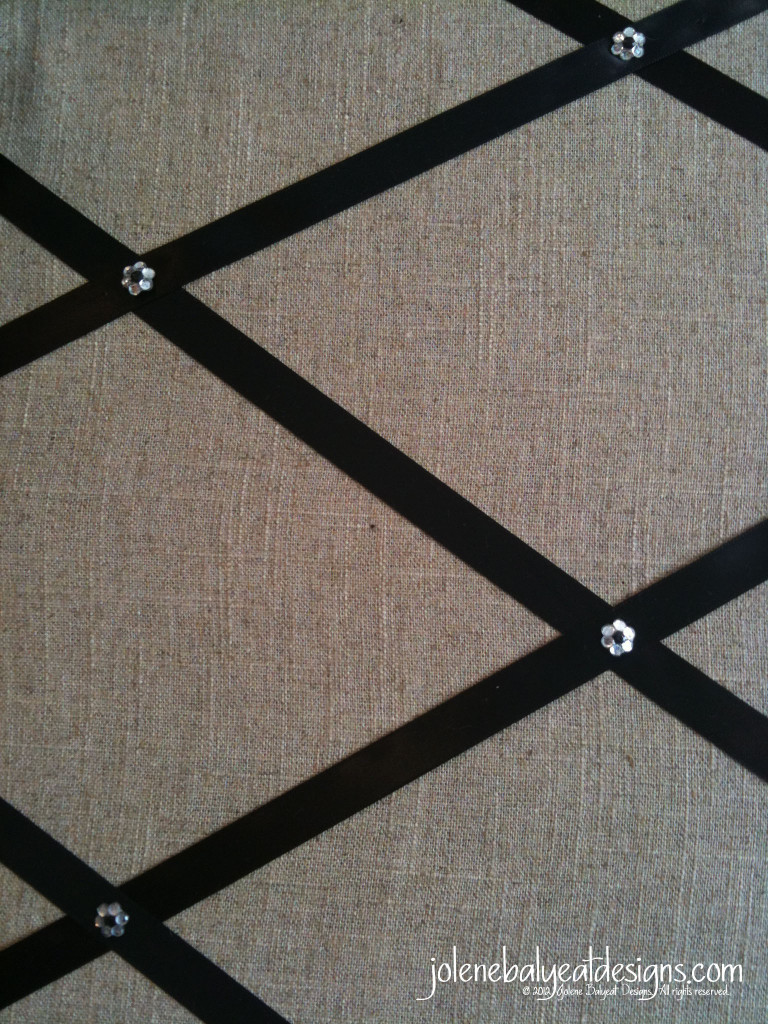
Once the fabric arrived, we stretched it around the board, stapled it, spaced out the satin ribbon, and inserted it into the frame. Then it was time to make pushpins, and some things to pin up! I decided to go with the little flower pins instead of the buttons for the intersections of the ribbon. But I could have gone either way. Overall, I am thrilled with how it turned out. And it was made in such a way that it can be converted to a spice rack, mirror, blackboard, or a moss-covered photo holder, at a later date should the need arise.

Organizing Kitchen Spices

SpiceBottle

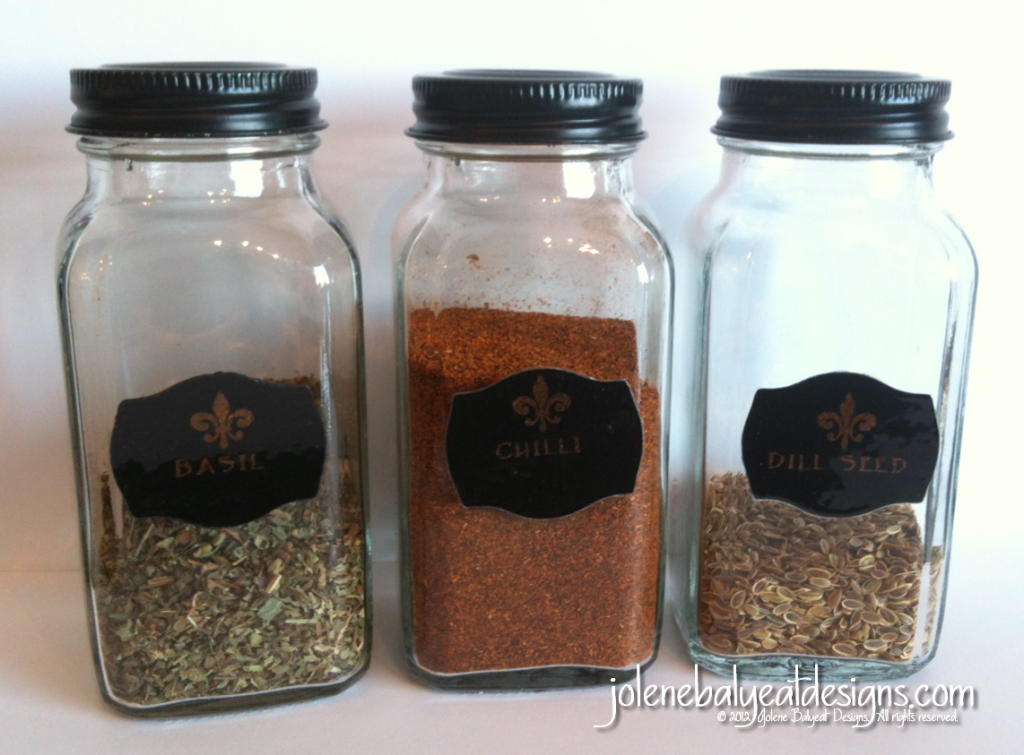
I love to be creative. But unfortunately that trait hasn’t carried over into the culinary arts…as of yet anyway. So in an ongoing attempt to make my kitchen a place where I don’t loath to be, I decided to “repackage” my spices. Honestly, I was having difficulty finding them. Plus one of my racks fell off of the cupboard door where it was precariously hanging, and quite a few spices were, ahem, expired. (You know they are old when you type in the bottle batch number online and the spice website says, “Y2K was a hoax, quit hoarding and go buy some new spices!”) So, I made a list of their names, and then began the search for the perfect spice bottle. I had some matching bottles with plastic lids, but some of the lids had cracked and so I was looking for a metal lidded solution.

The bottle I finally chose was from Ludden’s Natural Products. Although I didn’t like the green color of the lid, it could be spray painted black. My wonderful husband noticed that I was thinking about abandoning the project due to shipping charges that would almost double the cost, so he ordered them for me on the sly. When they arrived we spray painted them black, and I put them in the oven at 100 degrees overnight to see if that would cure them faster. Not sure if that was the best idea, but being that we are in the wintry Northwest at the moment, it was definitely warmer than the garage, and we didn’t smell paint fumes as badly as if they were left out on the counter all day!

Meanwhile, I cut out a pleasing label shape and then traced the shape into Adobe Illustrator with my Wacom mouse pad. After converting the shape to a vector (curve based shape), it was time to see if my cricut would cut it out. (A few years back, I stumbled on a YouTube Video that explained how to get your Cricut to cut any of the fonts or shapes you have on your computer. I bought the software and tried it out on a friends Cricut as I didn’t have one at the time. Because the Cricut couldn’t line up with a printed image without quite a bit of trial and error, I decided to wait till I could afford a machine with a laser alignment feature. But then I received a Cricut Expression as a surprise gift. So I’m grateful for the option of cutting out my own shapes, in-spite of frustrating process.)

Using a combination of Illustrator, Adobe InDesign, Cricut, my laminator, laser printer, a foil product imported from England, and many hours, the labels are finally done.

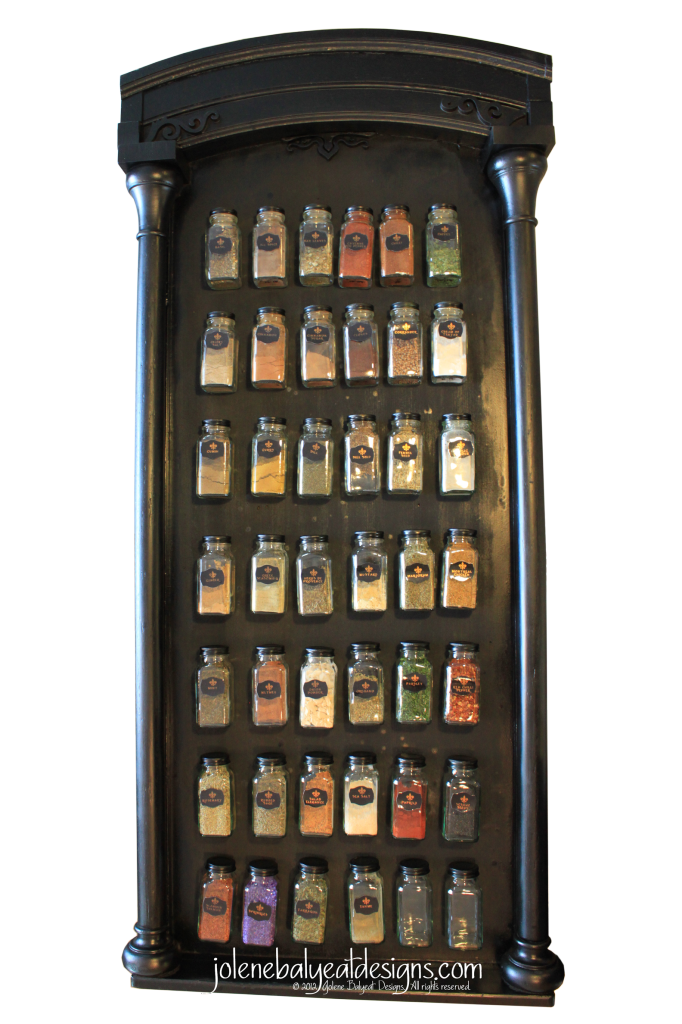
SpiceRack

I affixed them temporarily with glue dots, until I was sure that these were the labels I liked best. I also made a set on ivory paper with black type. The background piece would make a lovely spice rack, but I have other plans for it, so I just laid out the bottles for a quick snapshot to show how they turned out.